How to check LiDAR connectivity
Please check the following to connect lidars correctly:
✅Cable connection check (Go to Quick start guide)
✅Check the network settings It must same netmask with lidar ip address
For example. lidar ip : 192.168.6.156, lidar netmask : 255.255.255.0
Computer ip : 192.168.6.XX, computer netmask : 255.255.255.0

✅Firewall check
sudo ufw status

If status is active, you should turn off ufw.
sudo ufw disable
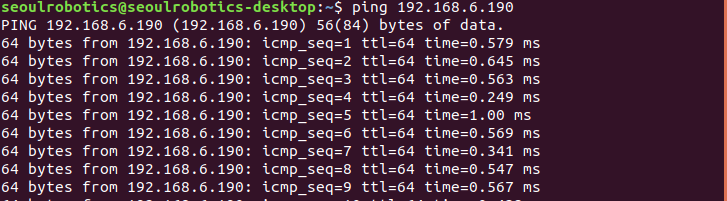
✅Ping test If the lidar ip is 192.168.6.190, you can check like picture below. If it connects well, you can see like below(64 bytes from XXXX : ~)
note
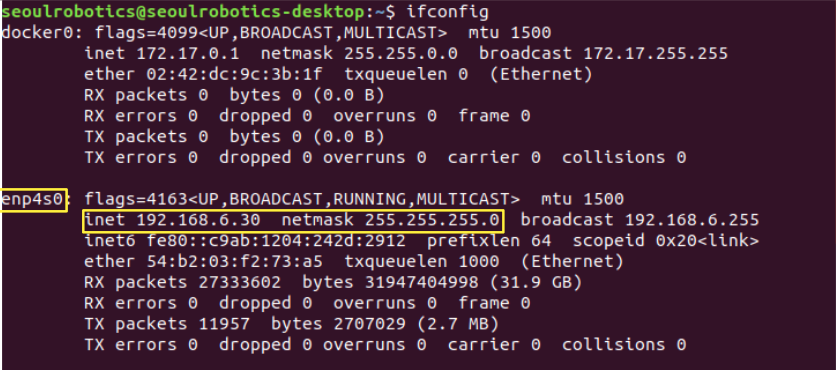
Ping failure: check Wireshark (sudo apt-get install wireshark) When you type the ifconfig command in your terminal, you can see your ethernet name. Ex ) Below picture shows, ip : 192.168.6.30, ethernet name : enp4s0
After you check your device information, you should type sudo wireshark. If you type the command, you can see the picture like below.

Please click your ethernet name as you checked above.
- If it connects well, you can see packet messages with blue color.
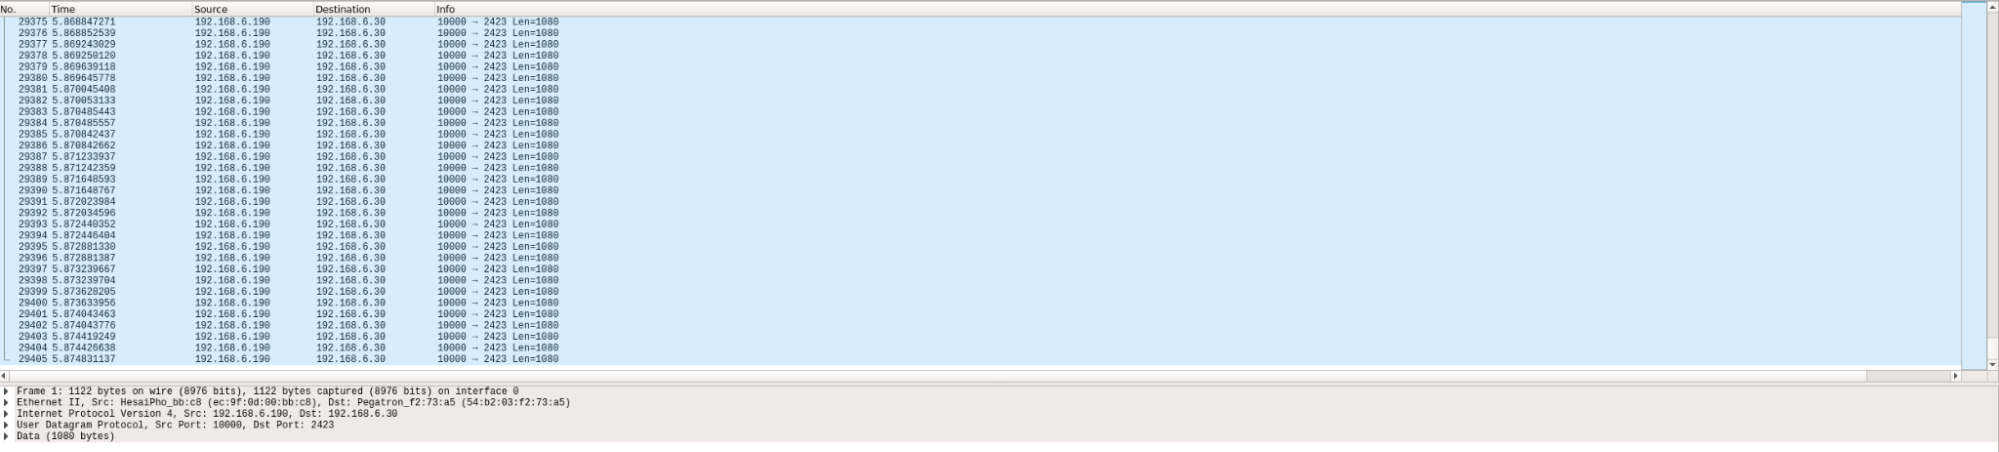
- If something has a problem, you can see the lidar packet below. Below pictures uses Hesai lidar
![]()
Ping success: Please input lidar’s IP and port number correctly
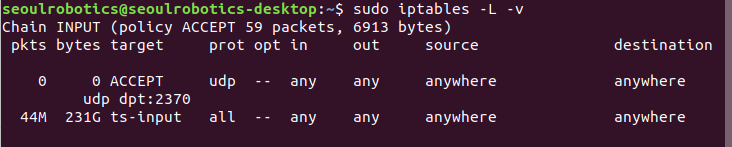
✅Routing table check
If it does not works with above method, you can add your lidar port number with below command
sudo iptables -I INPUT -p udp --dport (lidar port number) -j ACCEPT
After you add the port number, you can see like below.
EX ) my ip address number 2370