Deploy Ubuntu 20.04
Introduction
This page details the steps for deploying ubuntu 20.04 on a machine.
warning
Before upgrading to Ubuntu 20.04, make sure you back up the important files (such as the SENSR project file and customized SDK-based scripts) in your computer by transferring them to external storage. After the upgrade, all folders and files in the will be deleted.
Prerequisites
- A 4GB USB drive
Create a bootable USB
1. Download the installation media
Visit the Ubuntu 20.04 download page and download the file ubuntu-20.04.5-desktop-amd64.iso.
2. Create a Bootable USB
This step will erase all data present on your USB drive, make sure to backup all your data before carrying on.
Option 1: Create a Bootable USB Drive on Ubuntu
Use the Create startup disk tool:
- Open a search dialog, and type
create startup. - If it’s not installed, the Software Center will offer the option to install it – choose the option for USB drive, then open the utility.
- In the top pane, click Other, then browse and select the Ubuntu 20.04 .iso file you downloaded.
- In the bottom pane, select your USB drive.
- Click Make startup disk.
Option 2: Create a Bootable USB drive on Windows
You’ll need to install a third-party utility called Rufus to create a USB bootable drive.
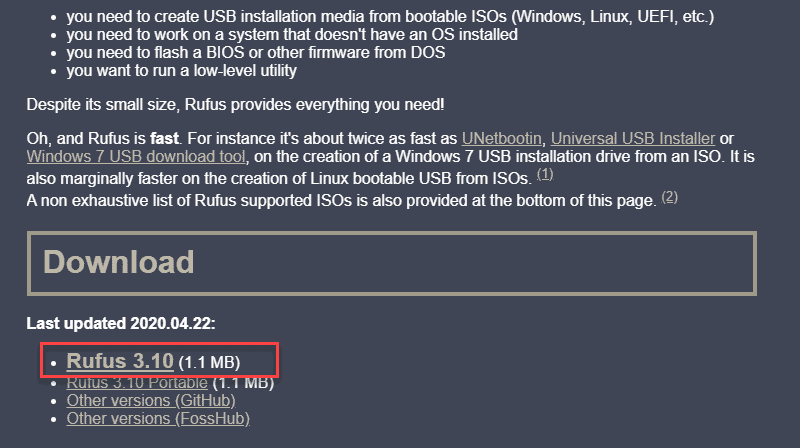
Download the Rufus utility. Scroll down to the download section and click the link to download the latest version of Rufus.
Run the file once downloaded.
A pop-up dialog opens. You will be prompted whether you want to check for online updates. Select No.

The Rufus utility launches. Plug in the USB drive – you should see the drive pop up in the device field.
Set the USB as the device you wish to write to.
In the Boot Selection drop-down, click Disk or ISO Image.
Click the Select button to the right.
Browse and select the .iso Ubuntu file you downloaded earlier.
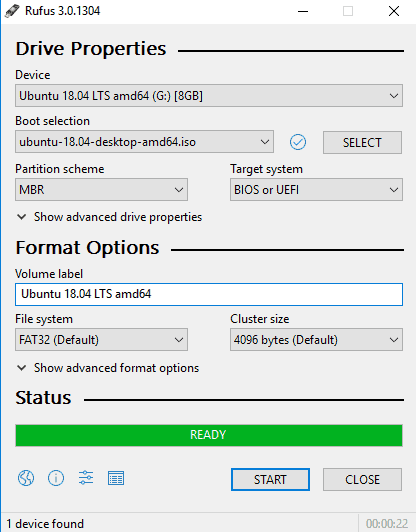
- Click Start.
3. Boot up Ubuntu from USB
Turn off your system. Make sure you remove all other USB devices, such as printers, memory cards, etc.
Insert the Ubuntu USB drive into the system and turn on your machine.
There are two possible scenarios:
- The computer boots the USB drive automatically.
- You need to manually configure USB booting in the Boot Menu or BIOS/UEFI.
- To manually configure the boot order, tap the boot menu key about once or twice per second as soon as the computer powers on.
The boot menu key may be different depending on your computer manufacturer. It is usually F12, F2, Esc…
- Once you see your boot menu, use the arrows to pick the Ubuntu media to boot from. For a DVD, the entry will usually have DVD or Optical in the name. USB is usually labeled USB.
Your system should start loading the Ubuntu live disc menu.
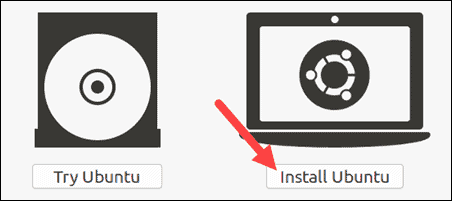
4. Install Ubuntu
To begin the installation, click Install Ubuntu.
 .
.
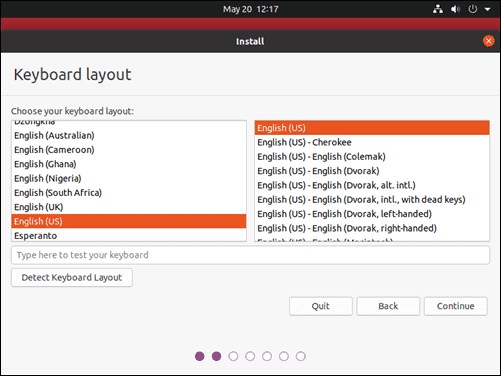
Choose Keyboard Layout
By default, the system will select English and English.
If you have a non-standard keyboard, you can select it in the list. Alternately, click Detect Keyboard Layout and the system will automatically choose your keyboard. If you need to test your keyboard, use the labeled field.
When you’re ready, click Continue.
 .
.
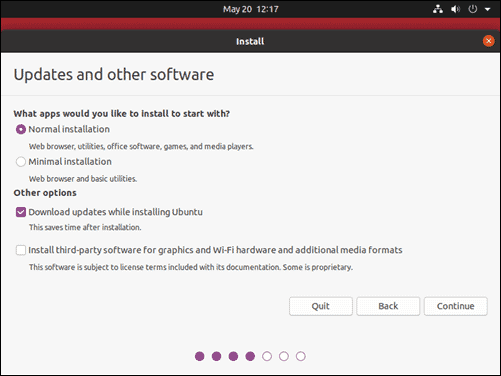
Choose Starting Applications
Select Normal Installation to deploy Ubuntu on your machine.
Confirm the following:
Download updates while installing Ubuntu this will download all necessary dependencies. Once the installation finishes, the packages will be ready to apply as updates.
Install third-party software for graphics and Wi-Fi hardware and additional media formatss
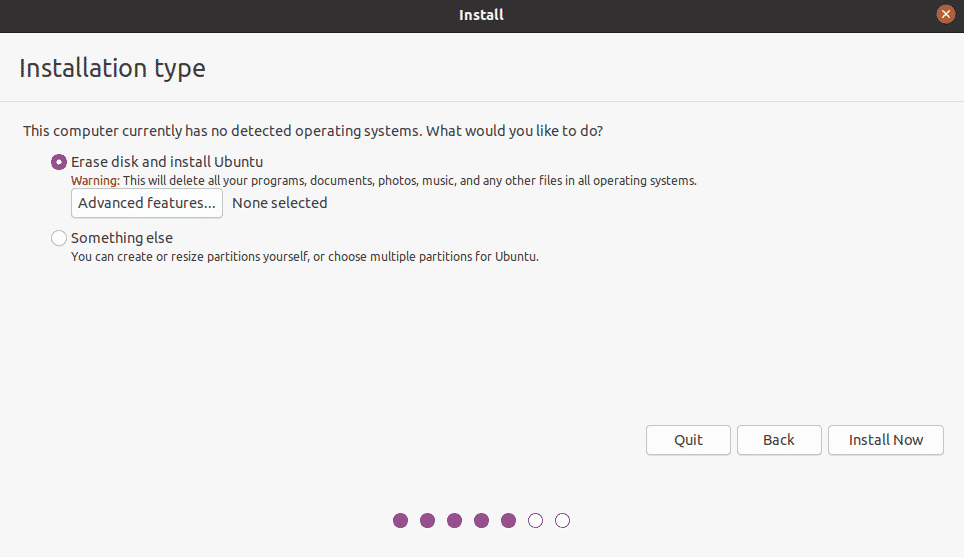
Disk Partitioning
warning
This step will erase all data in your computer. Before carrying on, make sure all your data has been backed up properly.
Next, you’ll be presented with an Installation Type dialog. Select Erase disk and install Ubuntu and click on Install Now.
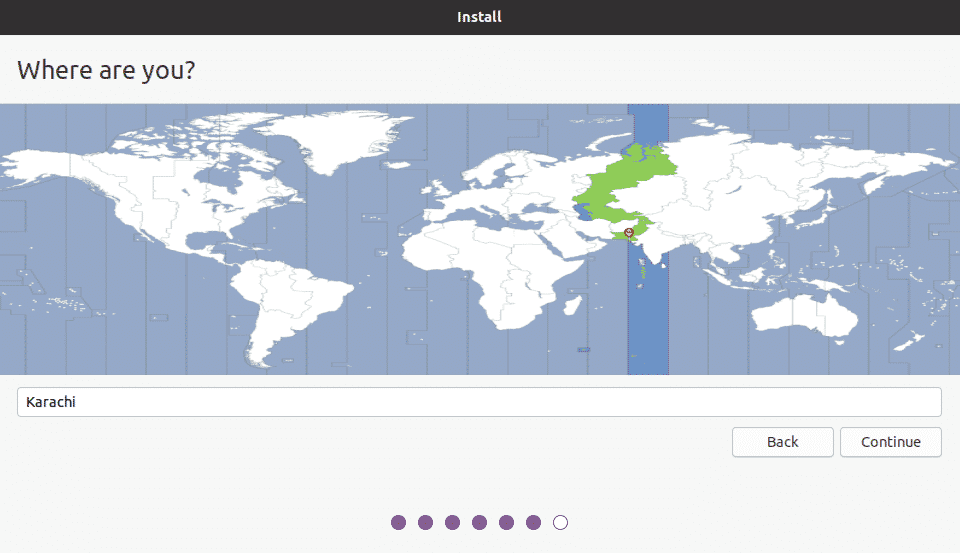
Select Time Zone
Once the system formats the disk partitions, the installer will ask Where are you?
Type the nearest large city into the box, and the system will set your local time zone.
Click Continue.
Create User Account
Next, you’ll need to configure a user account. Fill in the following fields:
Name: Your actual name.
Computer name: This is the hostname or network name.
Username: The user account name you want to use.
Password: Enter and confirm a strong password – the installer will automatically evaluate your password strength.
Log in automatically: This is not recommended for publicly accessible servers.
Require my password to log in: This is recommended for publicly accessible servers.
Click Continue to install Ubuntu.
Once the installer finishes, remove the Ubuntu installation media. You’ll be prompted to Restart Now.
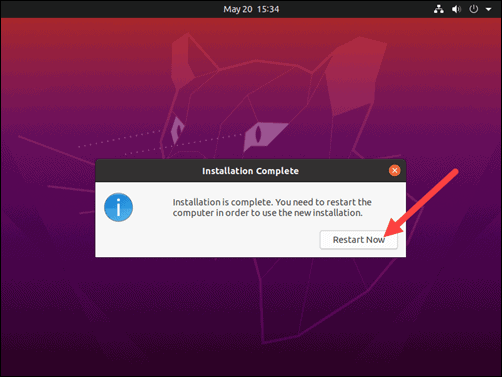
The system should boot into your new install of Ubuntu 20.04.