SR Launcher CLI
SR Launcher supports Command Line Interface which is all equivalent to the GUI interface. You can use either one.
Installation with CLI
info
Installation of SENSR-I can be also done with CLI. You don't need to install SENSR-I using both. Regardless of the interface, once the SENSR-I is installed, you can launch SENSR-I using either one.
Pre-requisites are exactly same as the one for GUI installation.
caution
Make sure you have an active internet connection during the installation process.
Download
sr-launcher-cli-[VERSION]-[ARCH].deb.Install the downloaded file with command below.
sudo apt install ./sr-launcher-cli-[VERSION]-[ARCH].deb(Optional) Set version to use. Default version is
latest.sr-launcher-cli set version
# Available versions are shown. Select one. It requires internet connection.Pre-install packages. It will download Kubernetes binary and Docker images of SENSR-I to the machine you are running SR Launcher CLI.
sr-launcher-cli run pre-install
# By default all images for both arm64 and amd64 will be downloaded. You can specify it like below.
# sr-launcher-cli run pre-install -a amd64Create
cluster.jsonfile with machine information that you want to install and use.Case 1: Single machine installation, which Master node and Algo node will be in the same machine
{
"nodes": [
{
"ip": "ip-of-the-machine",
"user_name": "user-name-of-the-machine",
"password": "password-of-the-machine",
"is_master": true,
"supported_worker_apps": ["algo"],
"name": "master"
}
]
}Case 2: Machine A for Master node and Algo node, and Machine B only for Algo node
{
"nodes": [
{
"ip": "node1_computer_ip_address",
"user_name": "node1_computer_user_name",
"password": "node1_computer_password",
"is_master": true,
"supported_worker_apps": ["algo"],
"name": "master"
},
{
"ip": "node2_computer_ip_address",
"user_name": "node2_computer_user_name",
"password": "node2_computer_password",
"is_master": false,
"supported_worker_apps": ["algo"],
"name": "algo_1"
},
...
]
}IP address is a machine identifier of Kubernetes. Use the physical and static IP address (don't use
localhostor127.0.0.1) that changes as least as possible.Don't add same machine many times to use many algo nodes in the machine. The node here is not corresponding to the number of algo nodes you can launch in a machine.
If you want to use the machine for Edge node, you can add "edge" to "supported_worker_apps".
Run installation with
cluster.jsonfile.sr-launcher-cli run install -f cluster.jsonThis will install Docker and Nvidia-docker(if GPU is connected) on the machines, and load Docker images to the Master node machine.
Install License Server
- Put the command as below.
sr-launcher-cli run install license-server - Put the license file to the path
/opt/seoulrobotics/licensesafter activating the license following the steps here. - (Optional) Check license server is running fine by accessing
http://<Master-Node-IP-Address>:9011through web browser. You can see the page as below.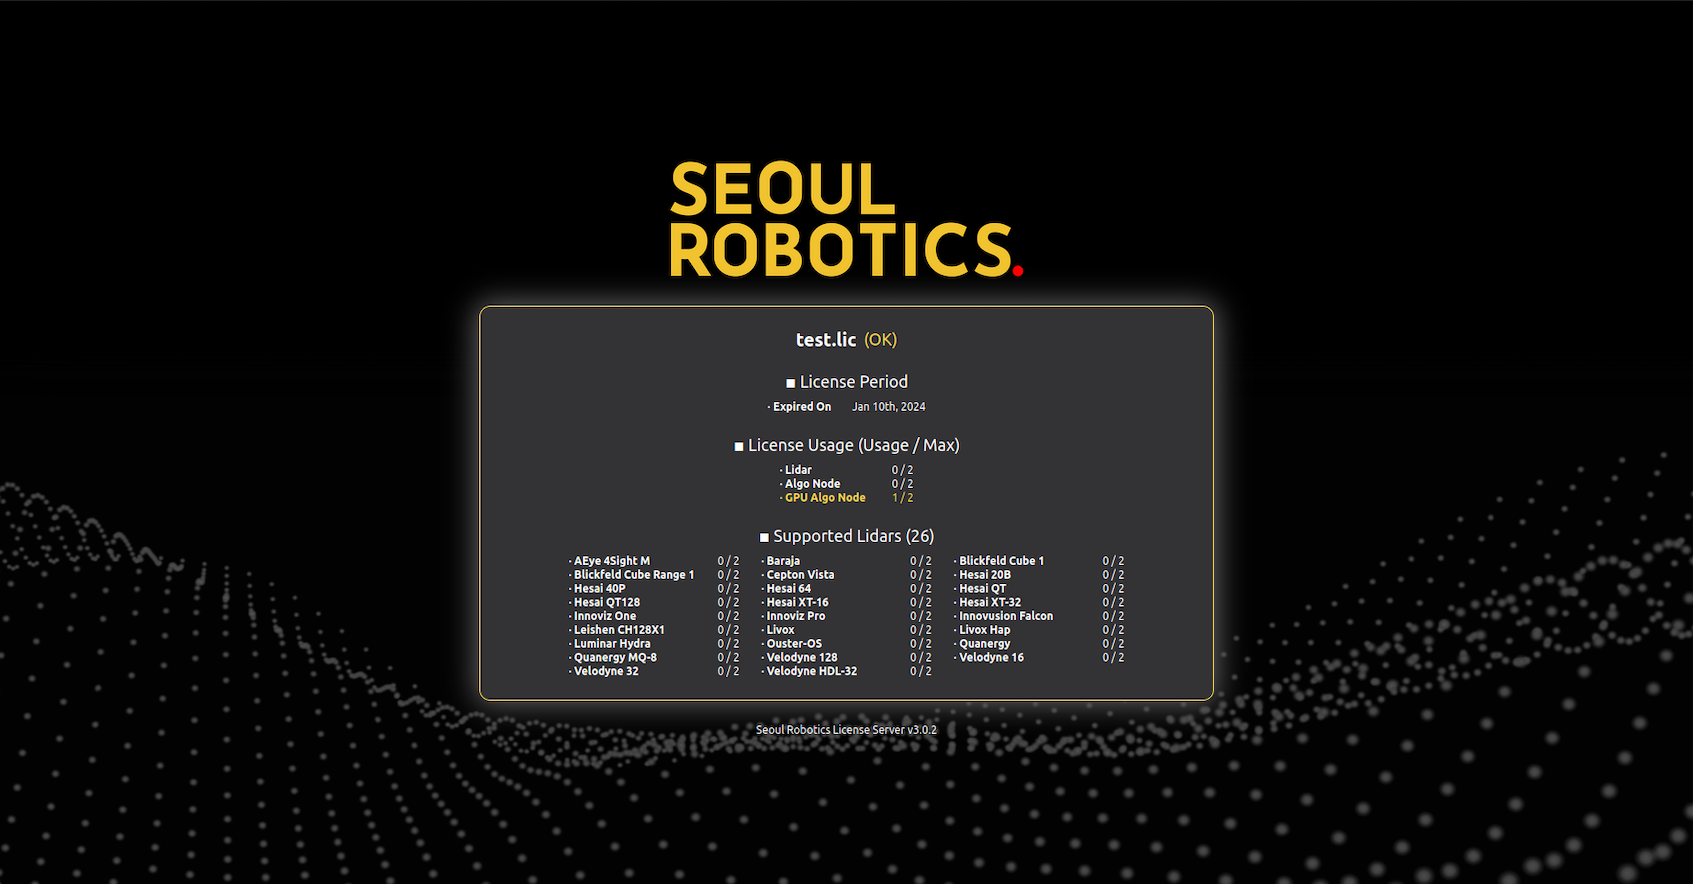
Launch SENSR-I with CLI
List the machines you will use in the json file. e.g.
cluster.json{
"nodes": [
{
"ip": "node1_computer_ip_address",
"user_name": "node1_computer_user_name",
"password": "node1_computer_password",
"is_master": true,
"supported_worker_apps": ["algo"],
"name": "master"
},
{
"ip": "node2_computer_ip_address",
"user_name": "node2_computer_user_name",
"password": "node2_computer_password",
"is_master": false,
"supported_worker_apps": ["algo"],
"name": "algo_1"
},
...
]
}- Machines should be under the same network and be able to access to each other.
- The machine that SR Launcher is running on should be included and set as the Master node machine as
is_master: true. And the other machines should be set as the Algo node machines asis_master: false. - The
namefield is used to identify the machine. It can be anything, but it should be unique.
Create cluster using
cluster.jsonfile.sr-launcher-cli create cluster -f cluster.json <cluster_name>`- <cluster_name> will be used to identify the cluster. It can be anything, but is recommended to use site_name for easy identification, or use names such as
c1orc2for easy use.
- <cluster_name> will be used to identify the cluster. It can be anything, but is recommended to use site_name for easy identification, or use names such as
Run SENSR-I.
sr-launcher-cli run sensr- To run SENSR-I with no-GUI mode, add
--no-guioption.sr-launcher-cli run sensr --no-gui
- To run SENSR-I with no-GUI mode, add
Run Web FE server
- Run command below. This should be done when SENSR-I is running.
sr-launcher-cli run web-fe-server - Open web browser and go to
http://<ip-of-the-machine>:5000to access to the Web FE.
Terminate SENSR-I with CLI
- Terminate SENSR-I. It will stop Web FE server if it's running.
sr-launcher-cli stop sensr - Delete cluster. (Optional, but recommended to make clean up all services for SENSR-I and Kubernetes.)
sr-launcher-cli delete cluster <cluster_name>
Update SENSR-I version
- Set version that you want to update to.
sr-launcher-cli set version
# Available versions are shown. Select one. It requires internet connection. - Follow the installation steps above.