QuickTune - Landmark Tuning
When multiple LiDARs are used in a single system, the accuracy of calibraion significantly affects perception quality. QuickTune is an automated calibration assistance tool to help users reach a fair level of accuracy easily and quickly. Using QuickTune tools, users can drastically reduce the time required to perform calibration.
QuickTune provides two features: Landmark Tuning and Auto Fine-tuning(beta).
This chapter describes how to use QuickTune - Landmark Tuning.
Landmark Tuning
Landmark Tuning calibrates the target LiDAR and matches the reference LiDAR(s) by using two pairs of landmark points form target LiDAR and reference LiDARs. Landmark points can be any points that is easily identified and located only with point clouds. (e.g. corner of walls, poles, etc.) When landmark points cannot be detected from the scene, you can bring cones, mannequins, or even workers to the overlapped area and use those as landmark points.
Landmark points are used to calculate the relative position and orientation between the target LiDAR and reference LiDAR(s). The relative position and orientation are then applied to the target LiDAR to glue it to the reference LiDARs.
note
Since Landmark Tuning is performed based on the top view, ground alignment of a reference LiDAR is prerequisite for using this feature.
It is recommended to first calibrate one LiDAR and then match other lidars using Quick tune.
Prerequisites
- Data coming from at least two LiDARs.
- At least one LiDAR calibrated using Ground Alignment or Manual Calibration to be used as reference LiDAR(s).
- At least two landmark points are detected from both target LiDAR and reference LiDARs.
Steps
- Click
Landmark Tuningicon in the header .
. - Select the target LiDAR to be calibrated.
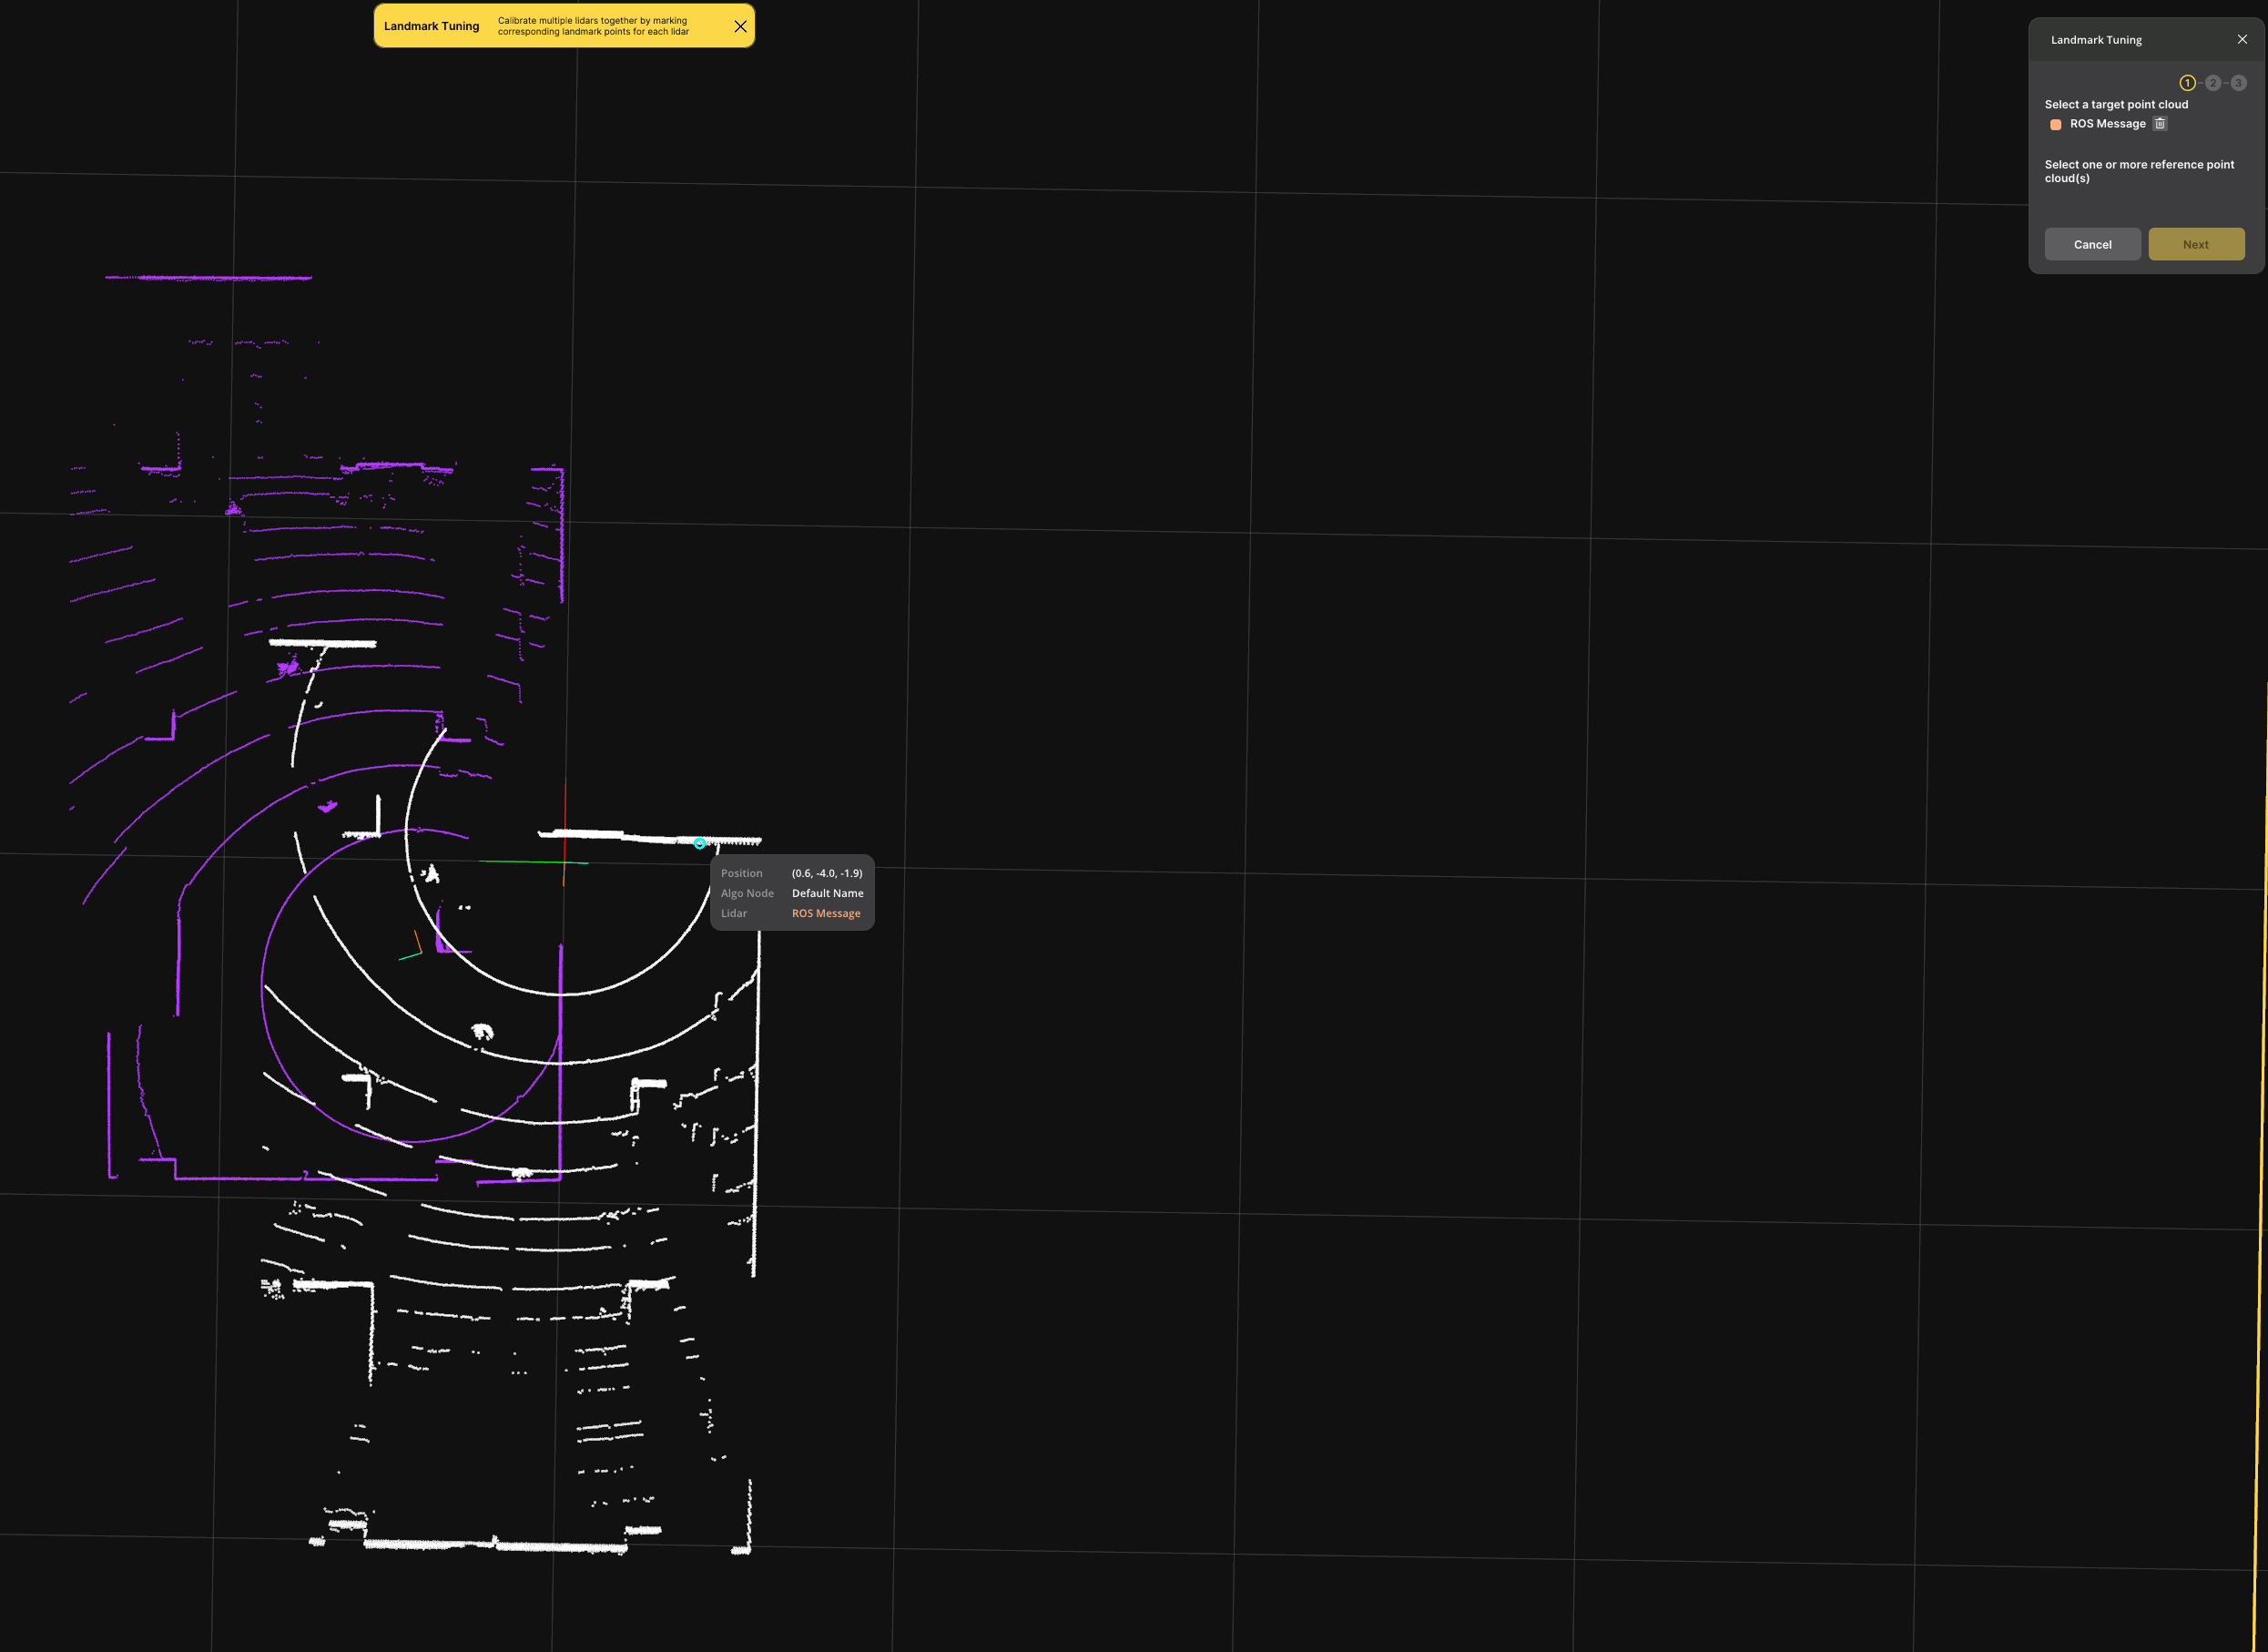
- Select the reference LiDAR(s) that you have already calibrated.
- At least one LiDAR should be added as reference LiDAR.
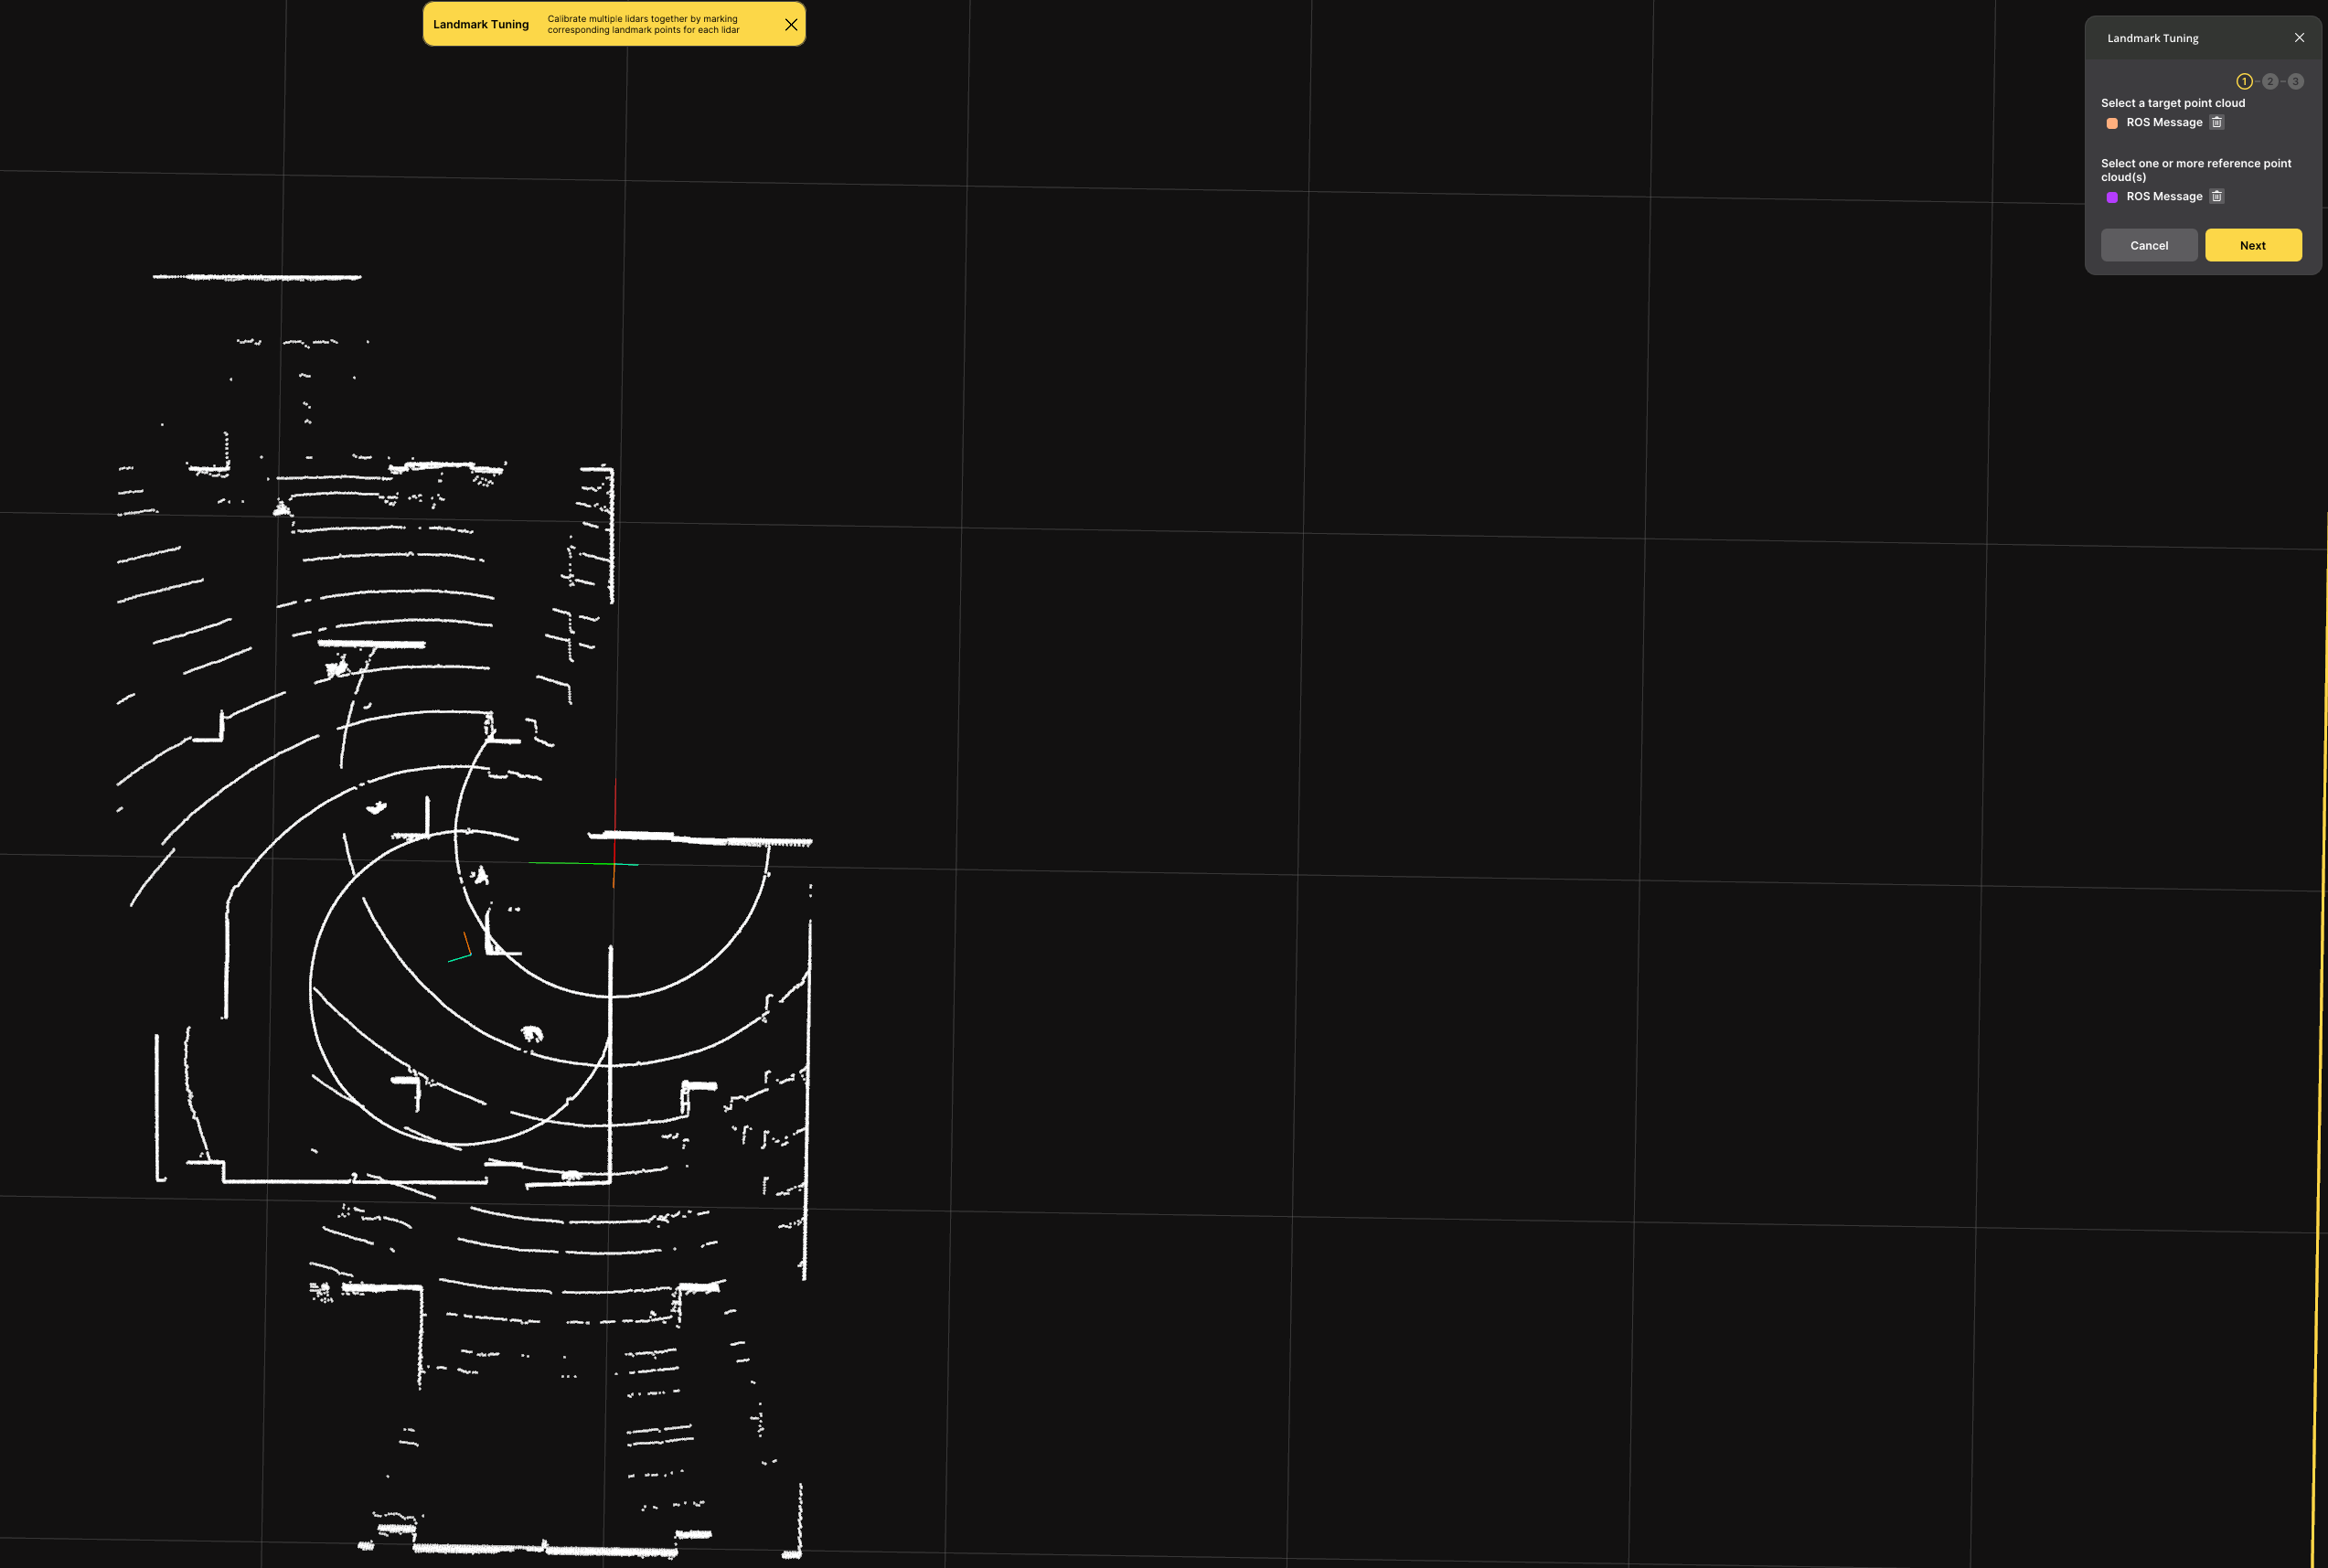
- At least one LiDAR should be added as reference LiDAR.
- Click "Next". Then, an horizontally divided window will be shown, the upper window shows the point cloud from the reference LiDAR(s) and the lower window shows the point cloud from the target LiDAR.
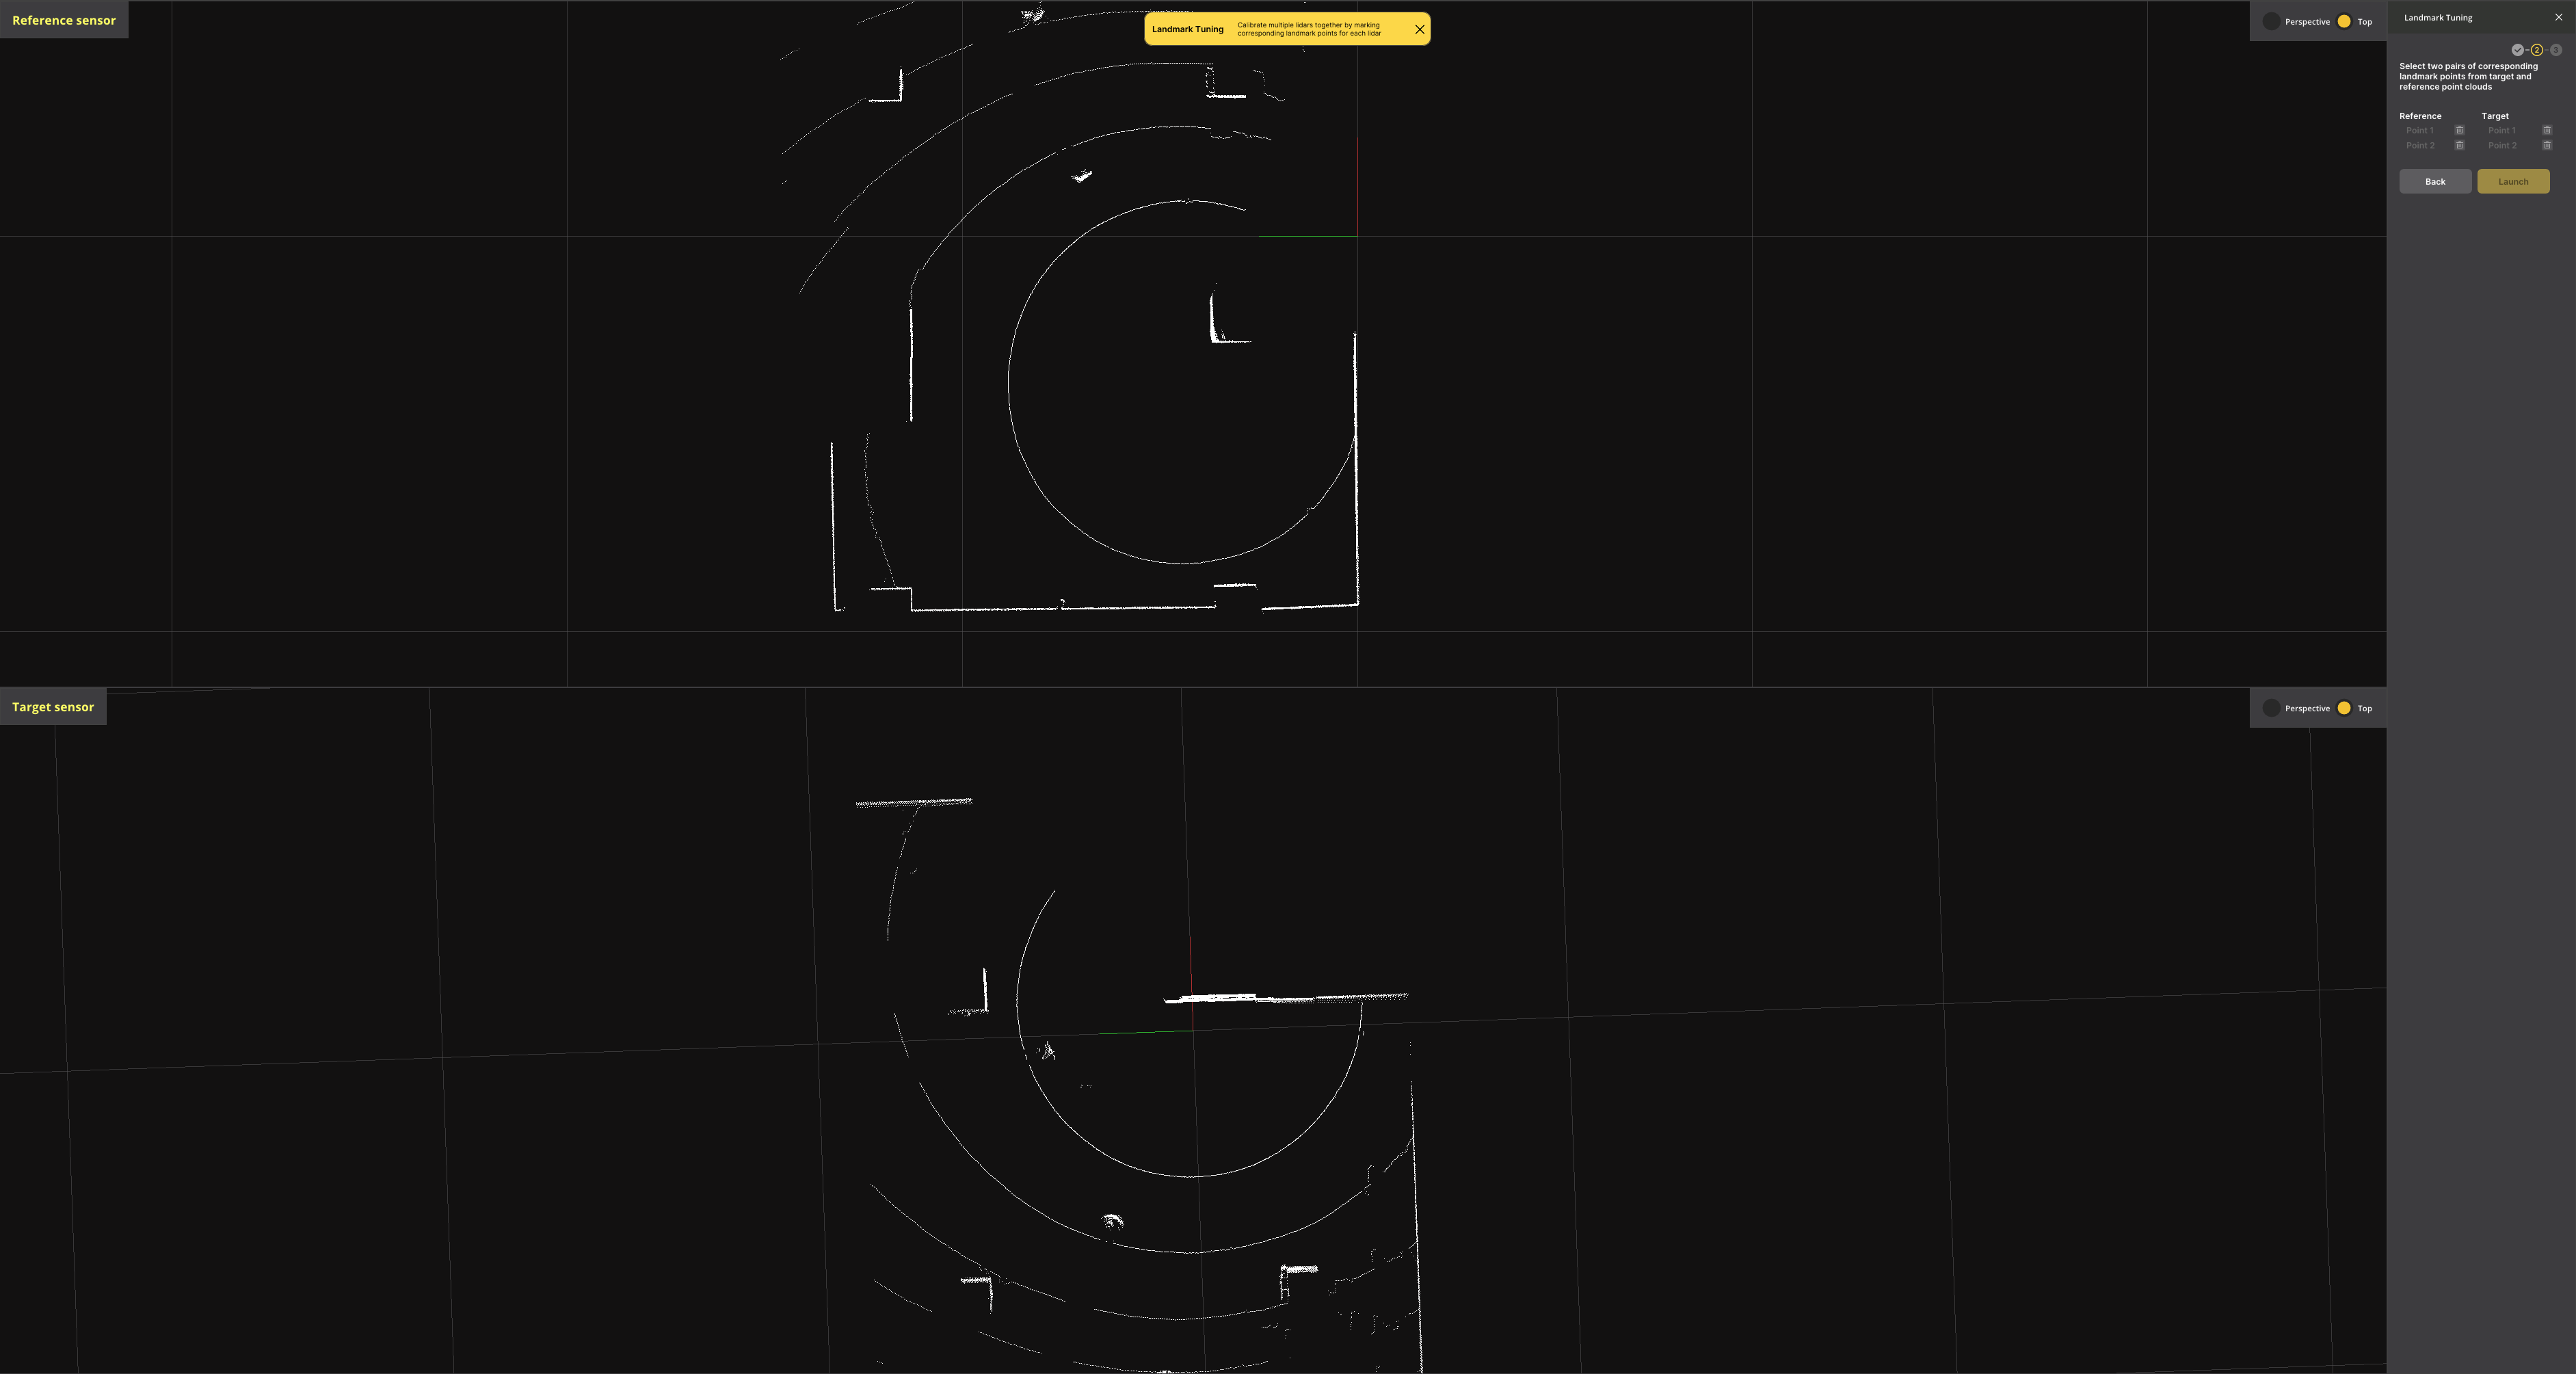
- Select two pairs of corresponding landmark points.
- You can find landmark points by moving and changing the view of each window. The edge of the activated window is colored in **Yellow**.
- Mouse controls are the same as the ones used in Project Setup mode. (e.g. `Right Click + Moving` to rotate and tilt the view, `Scroll Click + Moving` to move the view, `Scroll` to zoom in/out, etc.)
- Top view and Perspective view are available. You can toggle it at the top right corner of each window. Recommended view is Top view.
- Selecting order is important to match the landmark points. You can recognize what points are matched by the color of the selected points. First selected landmark point from each target LiDAR and reference LiDARs will be colored in **Orange** and second selected landmark point will be colored in **Purple**.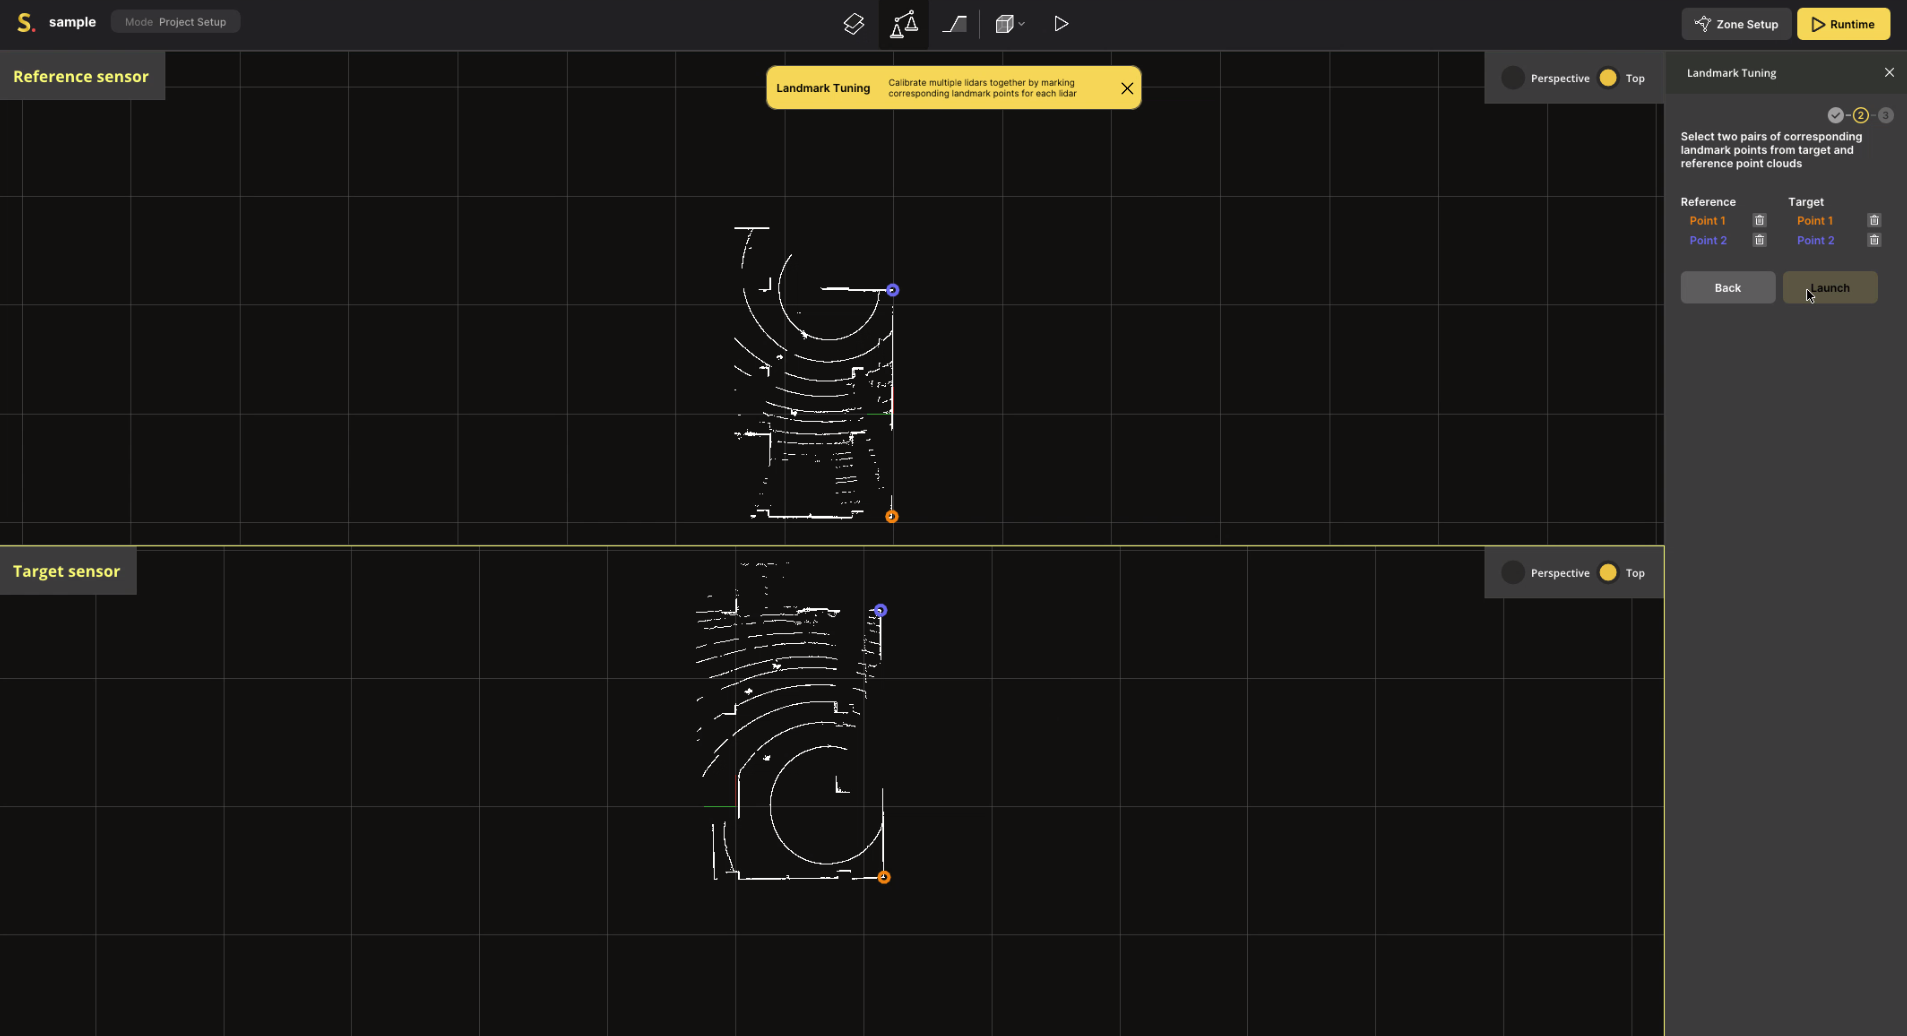
- Click "Launch" after selecting landmark points.
- Calibration result will be shown. Make sure LiDARs are well-calibrated by clicking "Hold to show original points" button and comparing the changes.
- Click "Apply" button to save the calibration result.